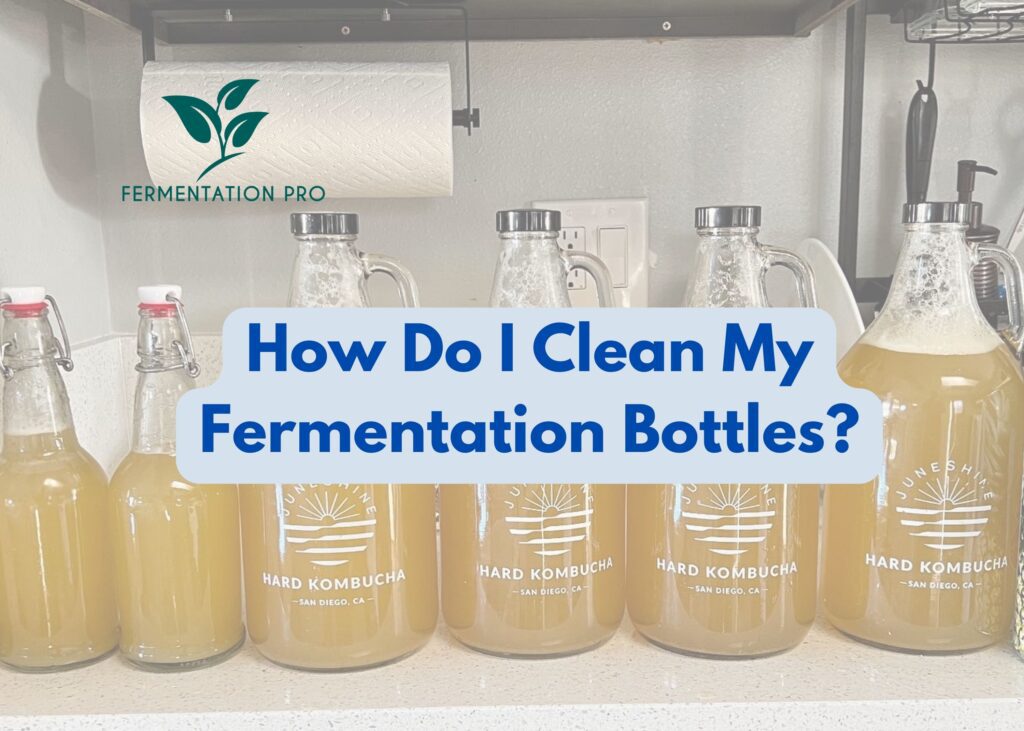
Among the many things that you need to consider when brewing Kombucha, cleanliness is one of the non-negotiables. Cleaning fermentation bottles before and after use keeps your brew safe from disease-causing germs and allergens. At the same time, it also removes any residues from the previous brew that may affect your brew’s smell and taste. You are probably asking now, “So, how do I clean my fermentation bottles?” That’s actually a good question and the answer to that is easy however, you do need to have some patience and attention to detail.
When cleaning fermentation bottles, you can use mild bleach solutions or sodium polycarbonate cleaners such as PBW cleaner. You may also use dishwashing soap and a bottlebrush to scrub the bottles thoroughly inside. Depending on your preferred cleaner, dilute the cleaner accordingly in hot water. Next, scrub your bottles with the bottle brush if there are visible gunks from the previous ferment. Then, rinse the bottles with hot water. Finally, dry the bottles completely before storing or using them.
Some homebrewers may suggest using vinegar and water solution. Vinegar is no doubt an effective cleaner when cleaning food containers however its acidic components may interact with Kombucha and cause contamination. Hence, we do not recommend using it to clean Kombucha fermentation bottles.
Table of Contents
Fermentation Bottles
Fermentation bottles are used for storing Kombucha as it undergoes a second fermentation. They usually come in 12 oz. or 16 oz. sizes and are made of plastic and glass. Both plastic and glass fermentation bottles are viable options for a second fermentation. However, we do not encourage cleaning and reusing plastic bottles.
Compared to plastic, glass fermentation bottles are less sensitive to cleaners and do not leach out toxins that can cause harm to human health. They are also reusable and recyclable making them a more sustainable option than plastic. In addition, glass fermentation bottles are dishwasher safe and do not melt or warp when rinsed with hot water.
On the other hand, plastic fermentation bottles can leach chemicals that may affect health. These chemicals can also affect the Kombucha’s taste and overall quality. Nevertheless, it is still considered an option for Kombucha second fermentation. Unlike the first fermentation, the second fermentation of Kombucha only takes a few days so the Kombucha liquid is not likely to interact with the plastic components and cause it to leach toxins. However, you should only use plastic fermentation bottles once and avoid reusing them as repeated exposure to Kombucha’s high acidity can cause the plastic material to break down.
So, do you need to clean plastic fermentation bottles? We suggest not to. Although it may sound wasteful, the best thing to do is to dispose of these bottles after completing the second fermentation process or reuse them for non-food purposes.
How To Clean Glass Fermentation Bottles
PBW Cleaner
PBW in PBW cleaner stands for Powdered Brewery Wash. It is a type of cleaner that is used as an effective cleaning solution for brewing equipment and other items made of plastic and metal. Using PBW cleaners is also safer than caustic soda cleaners which can potentially affect health and warp pipes. Moreover, it doesn’t hurt your skin making it a suitable cleaner for people with sensitive skin.
How To Use PBW Cleaner Step-by-Step Guide
Step 1. Dilute the PBW Cleaner according to the product instructions. Generally, you will need to dilute ¾ oz. to 1 oz. of PBW cleaner per 1 gallon of water.
Step 2. Soak your bottles in the diluted PBW cleaner overnight. Make sure that the cleaning solution covers the bottles entirely.
Step 3. Scrub the bottles using a bottle brush if the bottles have leftover gunks from recent ferment. If you are using the bottles for the first time, you can skip scrubbing them.
Step 4. Rinse thoroughly with hot water.
Step 5. Make sure to dry completely before adding any ingredients or storing them.
Dishwashing Soap and Bottle Brush
Dishwashing soap is known as a gentle cleaner that can remove many kinds of disease-causing bacteria like viruses and bacteria. They are also very easy to find in many grocery stores and relatively cheap.
How To Use Dishwashing Soap Step-by-Step Guide
Step 1. Fill a basin with warm water
Step 2. Add a few drops of dishwashing soap to the water.
Step 3. Dip the sponge in the water and dishwashing soap solution and clean the outer parts of the bottles making sure that there is no dirt left especially on the bottle opening.
Step 4. Scrub the inside of the bottles using a bottle brush.
Step 5. Rinse with warm water
Step 6. Dry completely before adding any ingredients or storing them.
Dishwasher
Dishwashers are time-saving machines that can help you clean different items made with dishwasher-safe materials like glass. However, they may not clean your fermentation bottles effectively as some particles like yeast and leftover flavoring can be trapped inside the bottle. When these residues remain in the bottle, there is a huge chance that your brew will get contaminated and become unsafe for consumption. Hence, we only suggest using a dishwasher as an extra cleaning method after cleaning with PBW cleaner or dishwashing soap.
How To Use Dishwasher Soap Step-by-Step Guide
Step 1. Place the bottles in the dishwasher accordingly.
Step 2. Select the hot water setting.
Step 3. Start the dishwasher.
Step 4. Dry the bottles completely before adding any ingredients or storing them.
How Do You Sterilize a Fermentation Jar?
Sterilization is a crucial part of cleaning. It ensures that your fermentation jar is clean and free from all bacteria and other living microorganisms that could possibly cause harm to human health.
Compared to cleaning and sanitizing, sterilizing fermentation jars involve a more thorough process. To help you through this process effectively, here are the steps for sterilizing fermentation jars advised by the National Center for Home Preservation.
Step 1. Place the empty fermentation jars in a boiling-water canner with their right side up on the rack.
Step 2. Cover the fermentation jars with hot water. Make sure that the water level is 1 inch above the jar.
Step 3. Turn on the boiling-water canner and boil the jars for 10 minutes at below 1,000 ft. altitude.
Step 4. Boil the jars for 1 more minute for every additional 1,000 ft. elevation.
Step 5. Grab your tongs, remove the hot sterilized jars, and drain them one by one. You can save the hot water and use it later for processing filled jars.
How Do You Sterilize Bottles Before Bottling?
Sterilizing fermentation bottles before bottling is a great way to ensure that they are free from any harmful microorganisms. If you haven’t sterilized your bottles before. Here are some ways how you can sterilize them according to cleanipedia.com, a website brought by Uniliver.
Step 1. Clean your bottles and cap with dishwashing soap and a sponge.
Step 2. Dilute 1 tbsp. multipurpose bleach into 1 gallon of water
Step 3. Soak the bottles and bottle tops in the bleach solution for 10 minutes
Step 4. Using a nylon brush or bottle brush, scrub the interiors of the bottles. For the bottle tops, you may use any small brush or clean toothbrush.
Step 5. Rinse with cool boiled water until the bleach has been fully rinsed off.
Additional Tips on Sterilizing Fermentation Bottles Before Bottling
- Wash bottles as soon as possible. Do not wait for the residues to harden or cause a smell in the bottle.
- Wear gloves to protect your skin from cleaners like bleach. When bleach gets in contact with the skin, it may cause irritation, redness, pain, and other skin damage.
- Take your time to clean the bottles. Make sure to scrub every part of the bottles and rinse off any bleach or soap completely.

How Do You Sanitize Glass Fermentation Weights?
Fermentation weights are items used to weigh down the vegetables during fermentation. They are made of glass and stoneware or ceramic, making them durable and easy to clean and sanitize. Sanitizing takes place after cleaning. It is done to reduce the number of microorganisms and make the item safe for storing or holding food.
Sanitizing fermentation weights generally involves four steps namely cleaning, soaking, rinsing, and drying in the oven. Below, we discuss these steps one by one.
Step 1. Clean
Wash the weight using the usual dishwashing soap diluted in hot water and scrub it using a soft brush. If you are trying to save time, you may clean it using the dishwasher.
Step 2. Soak
Make a solution of 50% vinegar and 50% hot water. Soak the weight in the solution for at least an hour. This is a crucial step especially if you are cleaning weights used in smelly ferments like kimchi.
Step 3. Rinse
Rinse the weight in warm water. Check for any remaining residues and smells. If the weight is not yet fully cleaned, continue soaking overnight.
Step 4. Dry and further sanitize in the oven
Preheat the oven to 400℉ and place the weight on the oven rack. Bake for 20 to 30 minutes. Next, turn off the oven and let the weight cool down inside the oven. When it has finally cooled down, store accordingly, making sure that it doesn’t touch other items in your cupboard.
How Do You Sterilize a Fermentation Bucket?
A fermentation bucket also referred to as fermenting bin is used for different fermentation projects like brewing beer. It is made of food-grade and tough plastic and has a tight-fitting lid. It is cheap, effective, and convenient to use. In addition, it is also very easy to clean.
If it’s your first time sterilizing a fermentation bucket, feel free to check out this step-by-step guide.
Step 1. Dilute your sterilizer. You can use any chlorine-based sterilizers or sodium metabisulfite to sterilize your fermentation buckets. These products may have different instructions for usage. Always follow their given instructions.
Nevertheless, generally, you have to dissolve 1 teaspoon of chlorine-based sterilizer in 1 gallon of warm water or 1 teaspoon of sodium metabisulfite in 2 cups of water.
Step 2. Pour the sterilizing solution into the fermentation bucket.
Step 3. Seal the bucket using the lid.
Step 4. Shake the bucket making sure that the solution covers all the inside parts of it.
Step 5. Let the solution sit inside the bucket for 5 to 10 minutes.
Step 6. Open the bucket and remove the sterilizer.
Step 7. Rinse the bucket with cold water.
Step 8. Remove the water.
Step 9. Dry completely before using or storing.

